Show your process
-
Fun thread!
My process is slightly different everytime I make an artwork and I hardly ever save it up step by step. However, I have process pictures for one of my favourite paintings I've made this year so here ya go!

Starting with a quick gesture and construction, then moving on to more redefined construction, adding surface lines and details. I love working traditionally so usually I print my stuff out and ink it with some pens.
I sketch the design, pose ideas and such in my sketchbook before I start, of course

Andd here are two rendering steps. Didn't save up the middle one so ya got flat colors to full render. As you can see, I add some gradients to my flat colors, playing around with saturation, temperature and value a bit before I even move on to shading. I like to keep my flats darker, midtones or shadows even, so all I do later is just add light on it and darken only a few areas.That would be it, nothing fency really. I am glad I saved steps for this one! I don't have anything else though...shame. Maybe I will keep process photos of my marker pieces next time

-
I love seeing others process as well as my own! I sometimes post a video timelapse on some of my pieces
https://www.youtube.com/channel/UCPxQOor_nX1RRIpiA-pdrzQ?view_as=subscriber
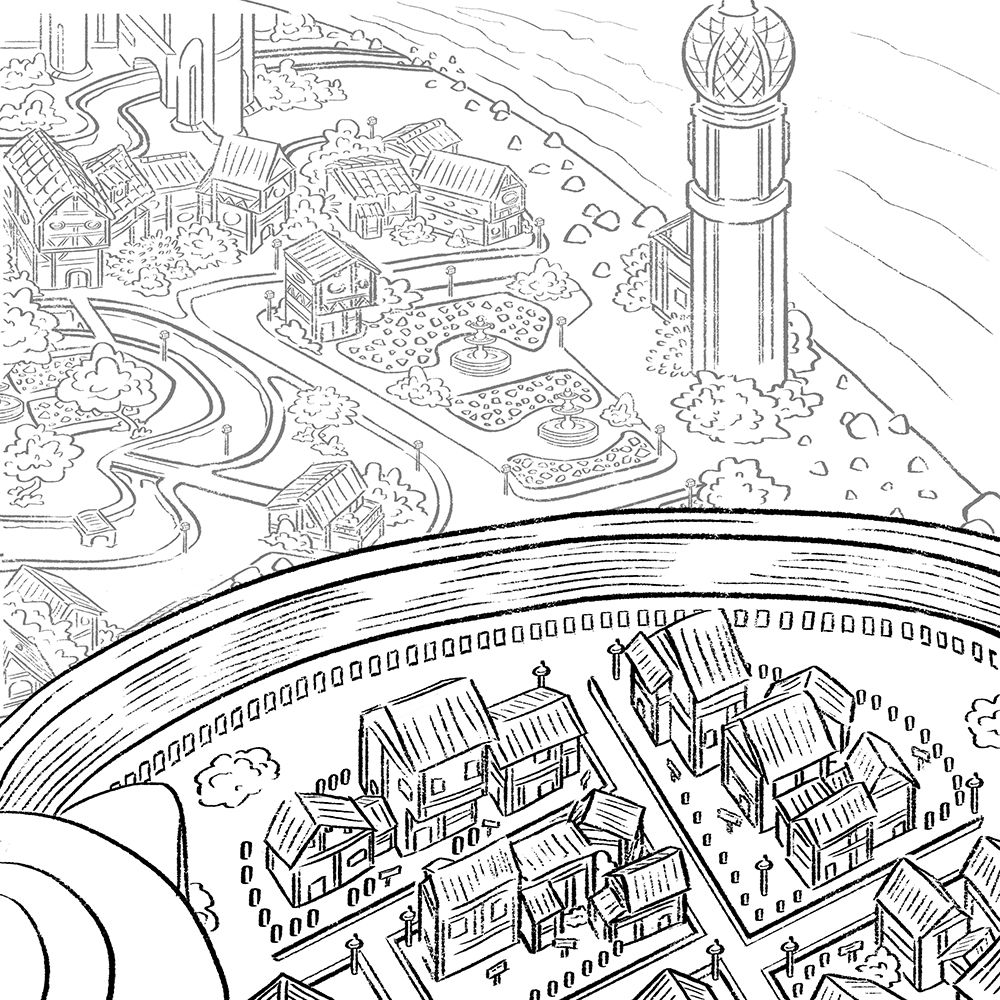
This is one of my latests pieces
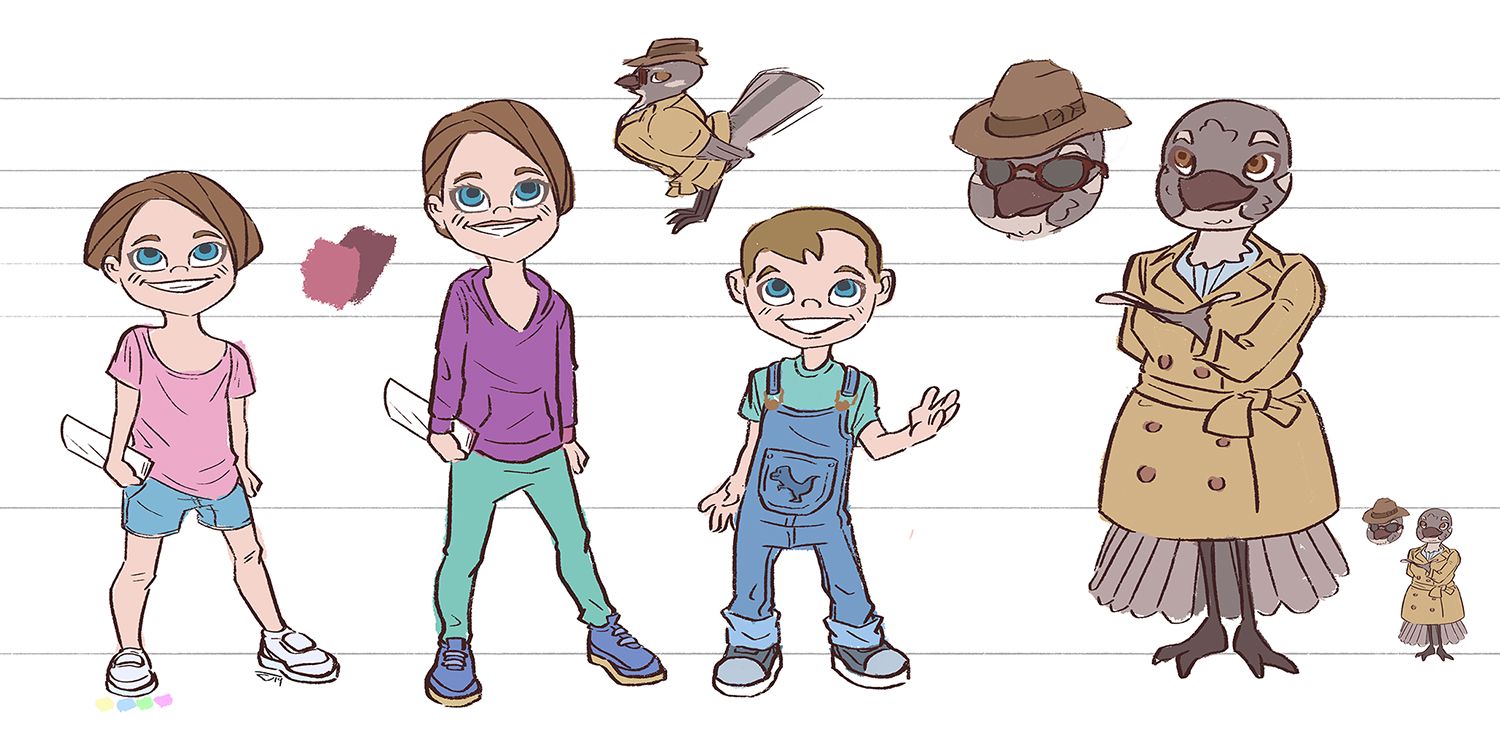
I did some character studies for the city and the main protagonist
-
My process
I have topic, than I make my story to it, draw some thumbnails, draw raw sketches, draw clean sketch, (value thumbnail, value color, did both for the first time with godzilla), color mostly everything on separate layer, put multiply and screen layers for each lyaer and at the end playing little with effects. Sometime I use layers with textures.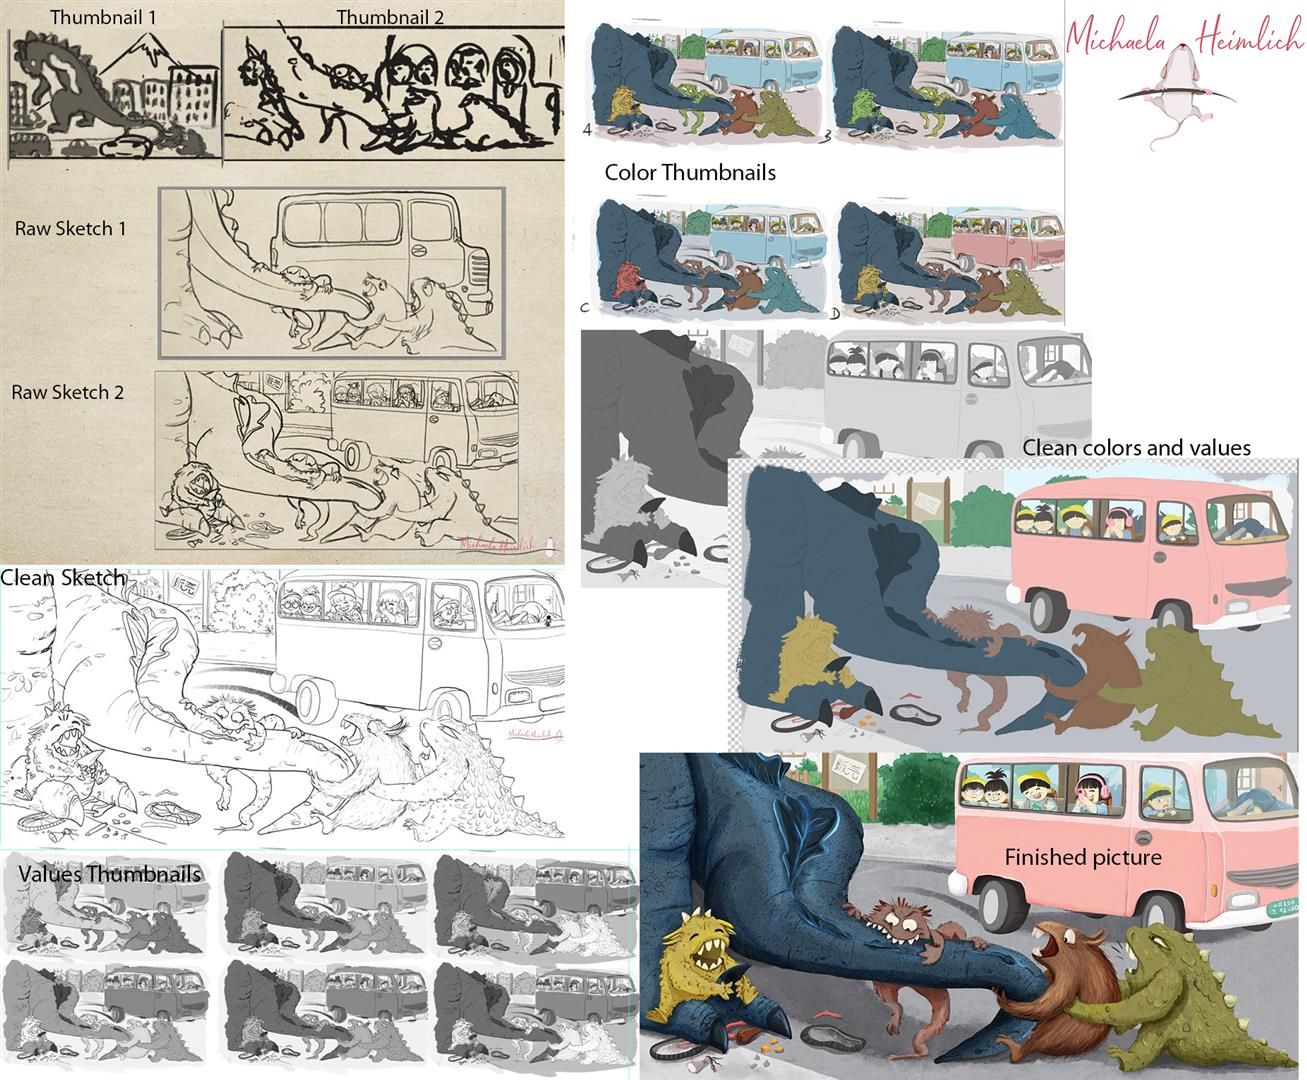
-
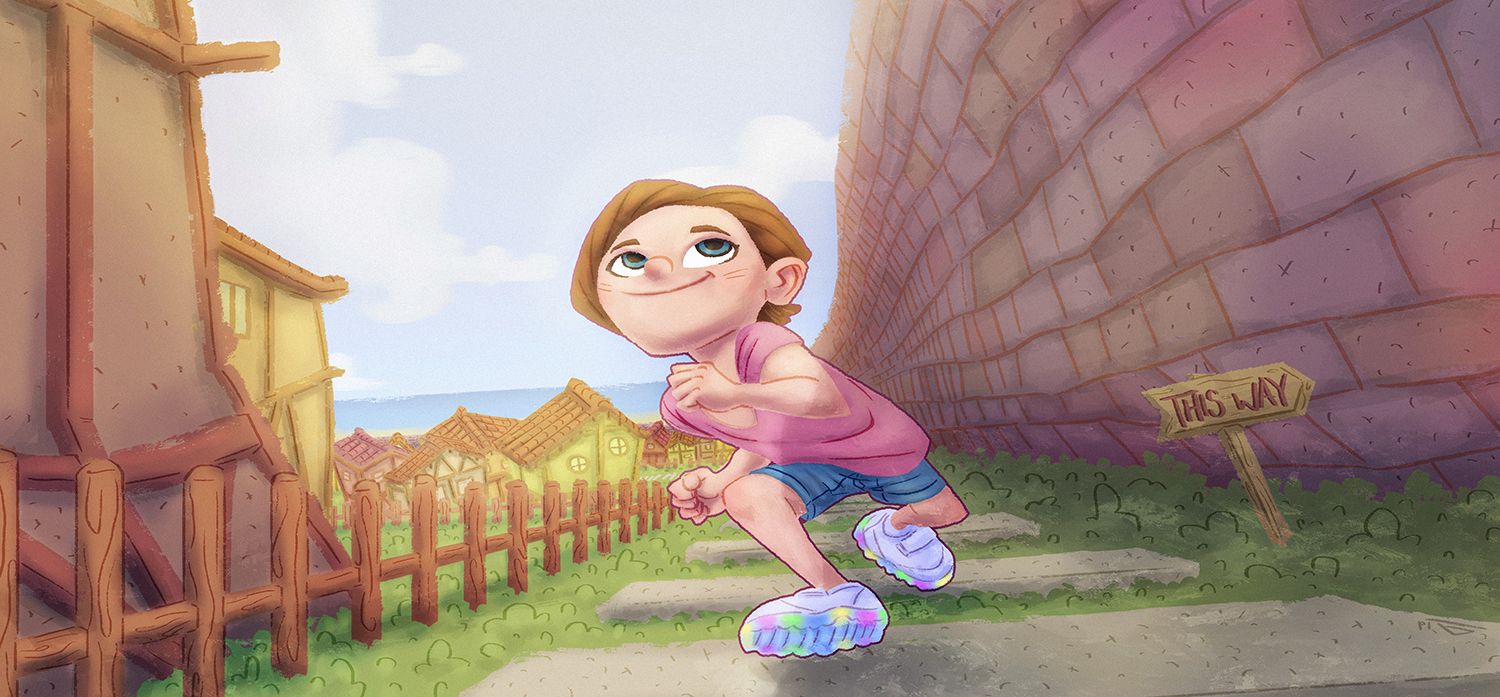
This is so awesome! I really like see how other people work and love sharing my process.
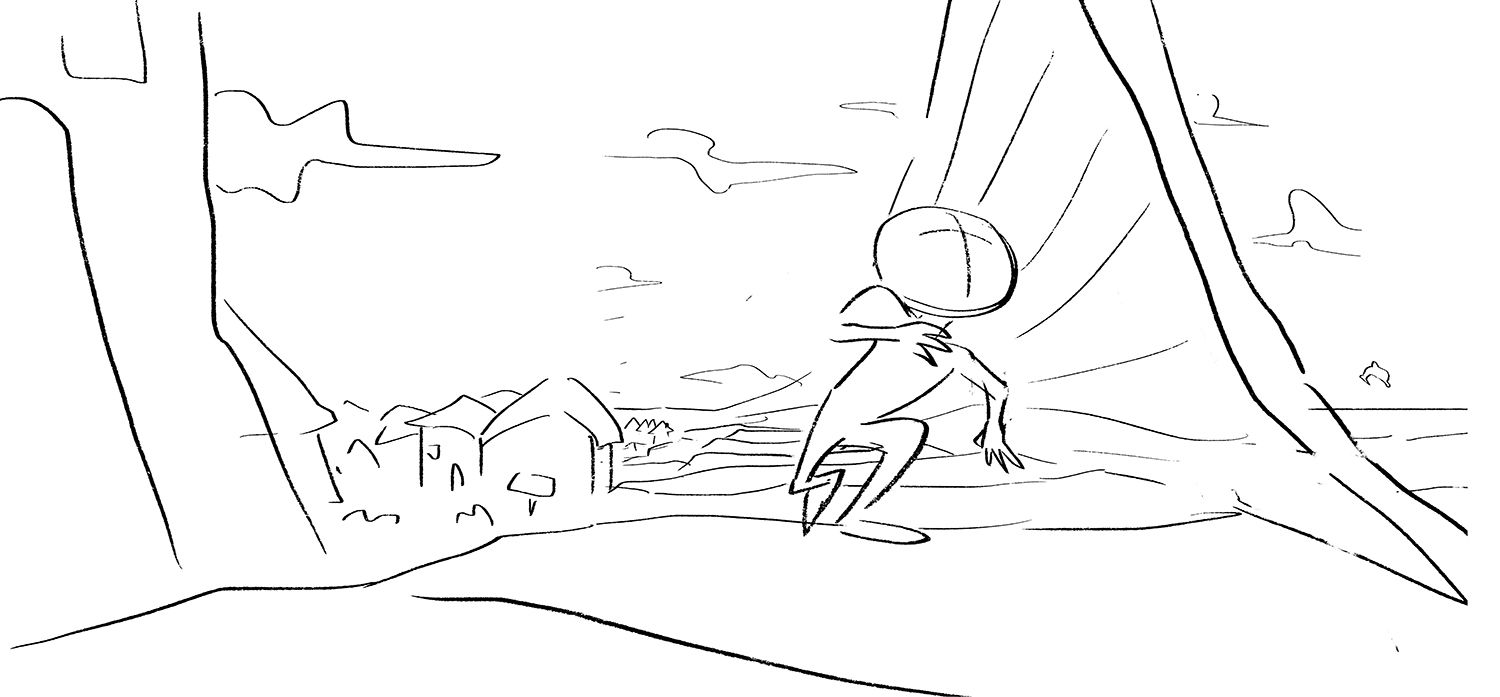
This piece originated from wanting to have two characters scoping out an alley. Then through exploring ideas turned to the woods, then hiding from someone. Eventually I had the idea of it being a giant crow. Next was to figure out where they would hide. I liked having the characters in the woods but, knew there was a way to up the danger so, I moved them to an open field. Looking to further this I thought it would be interesting to have their only cover by a group of cows that could move at any moment. Lastly I was looking for little story details to give them a reason for running from the crow, the green bag, and the holes in the crown to hint at whats in the bag.

Thumbnails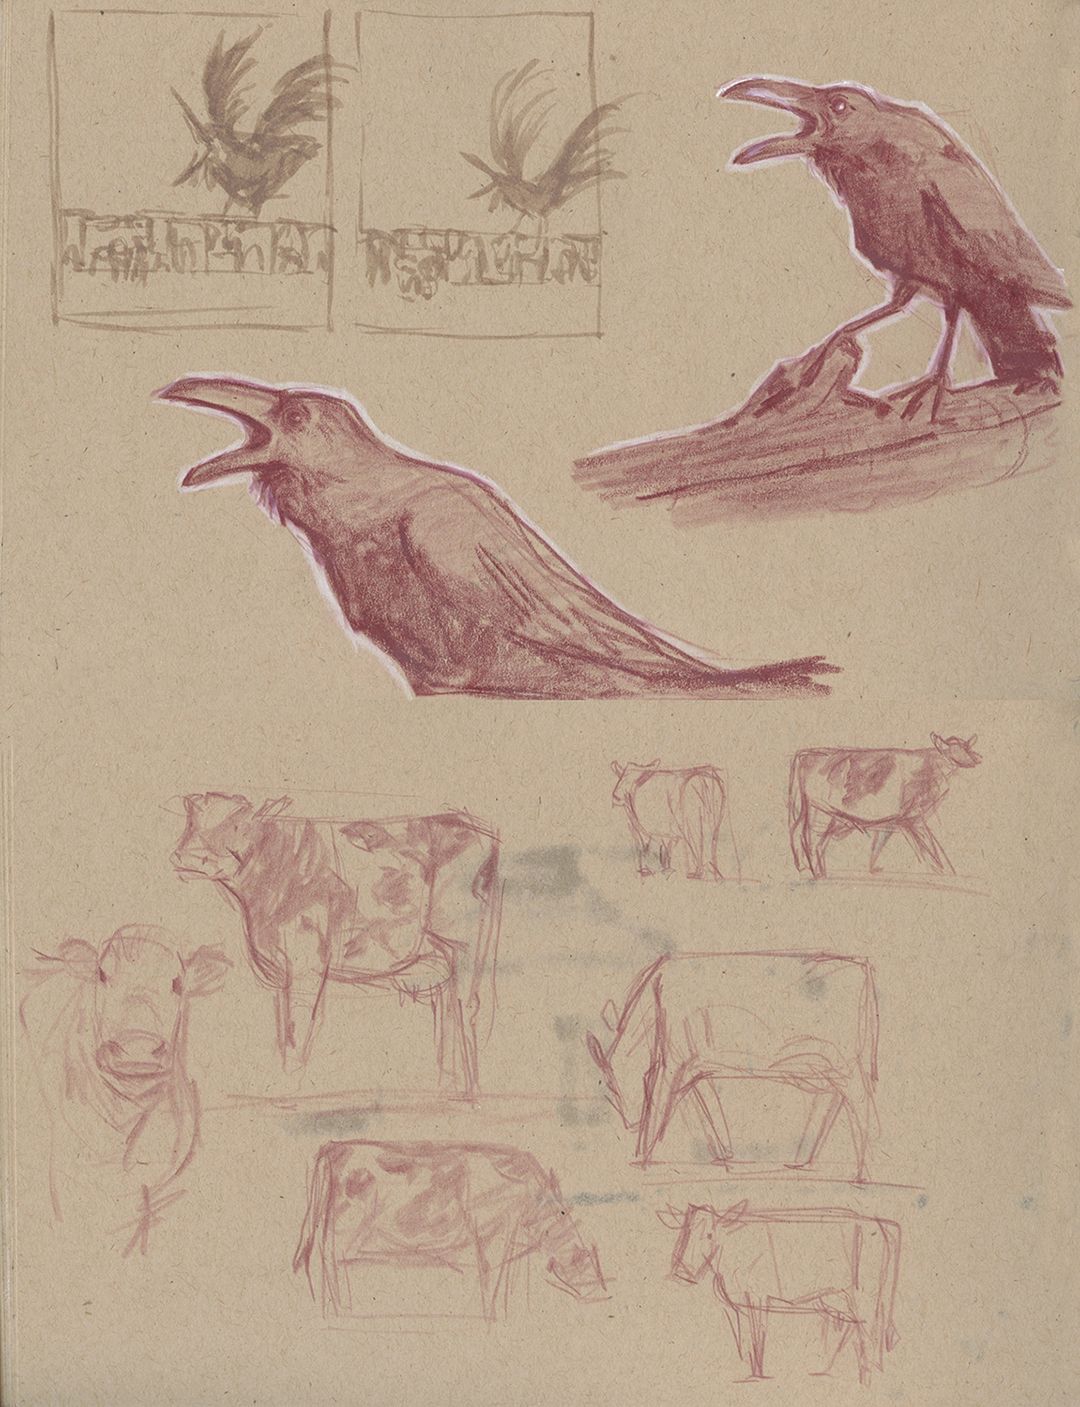
I wanted to have some understanding of crow and cow anatomy so I did a few sketches to give ideas on how to simplify.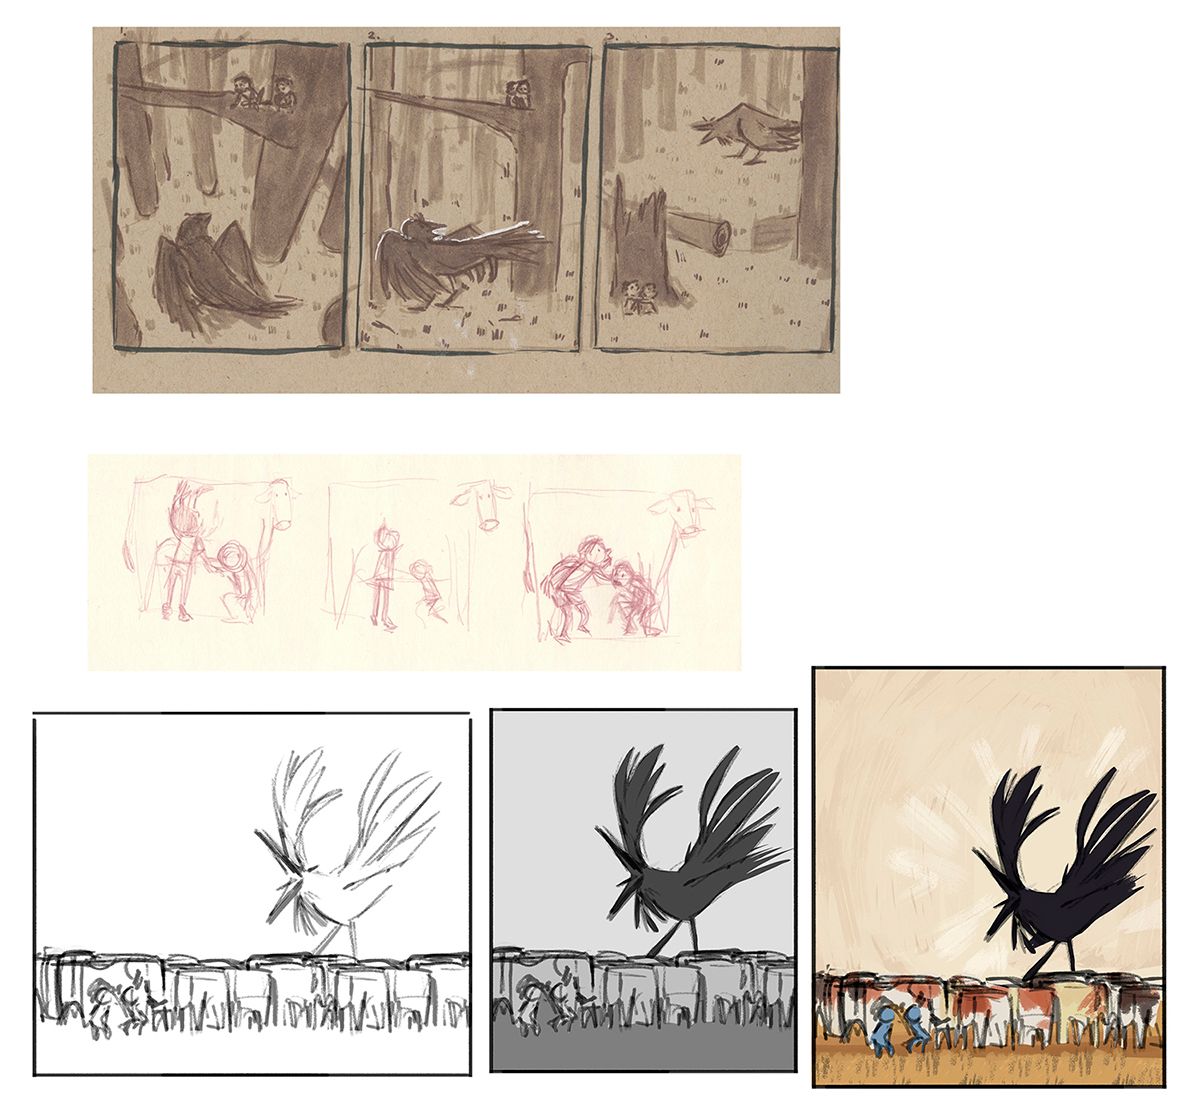
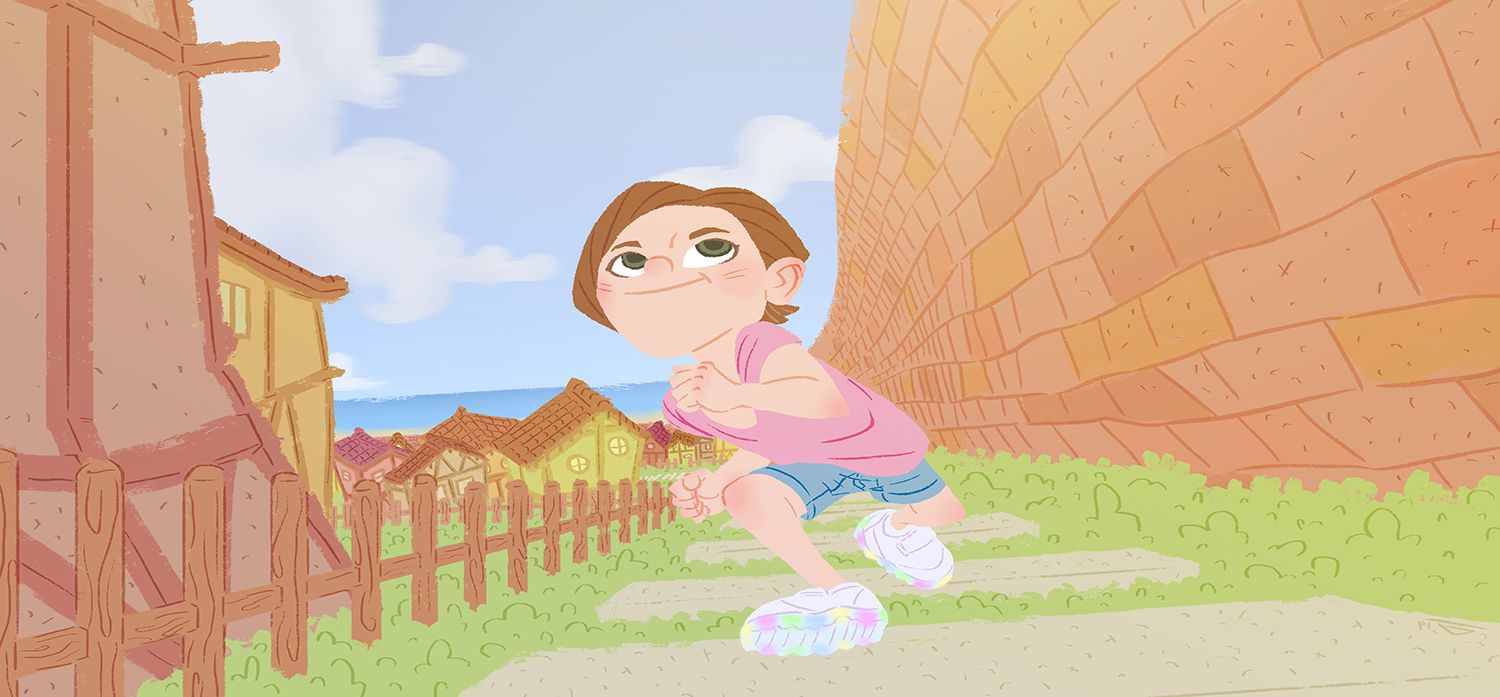
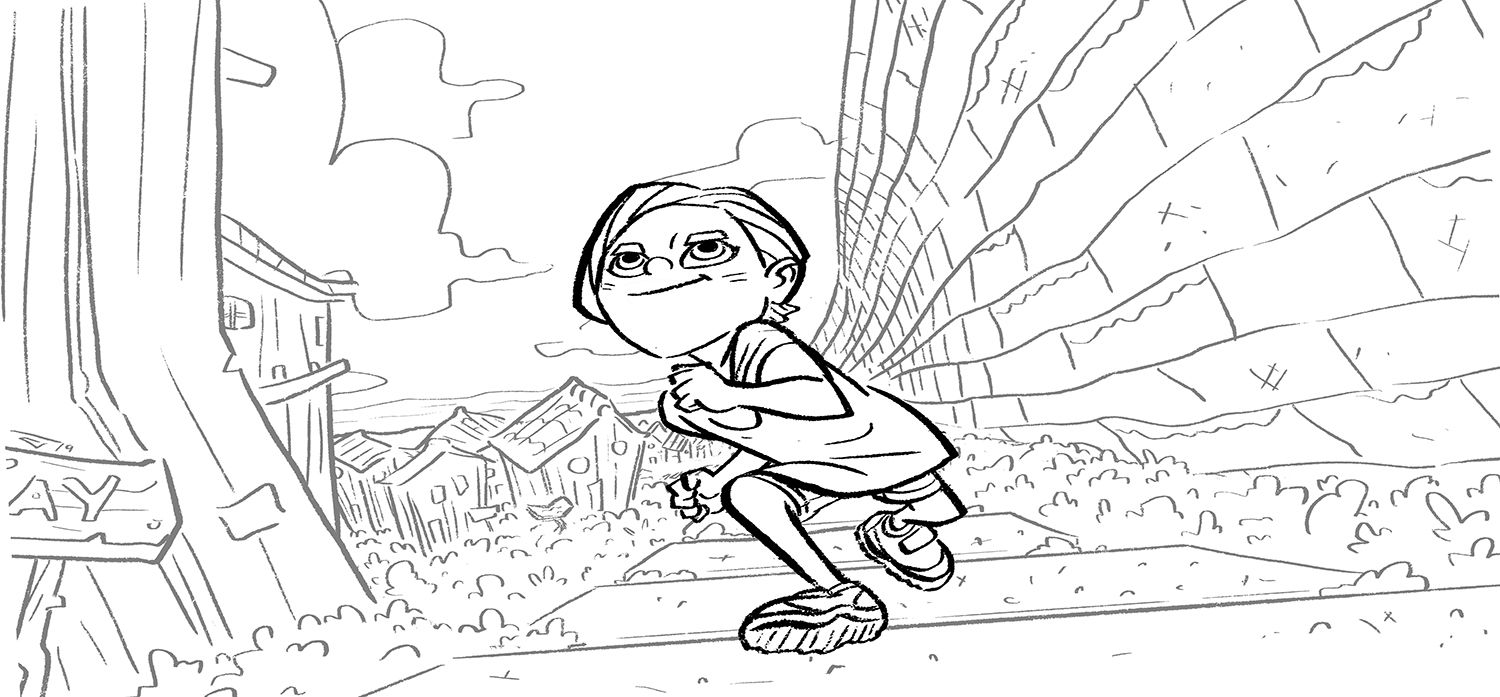
Taking the piece to photoshop for the cleanup, value, and color test.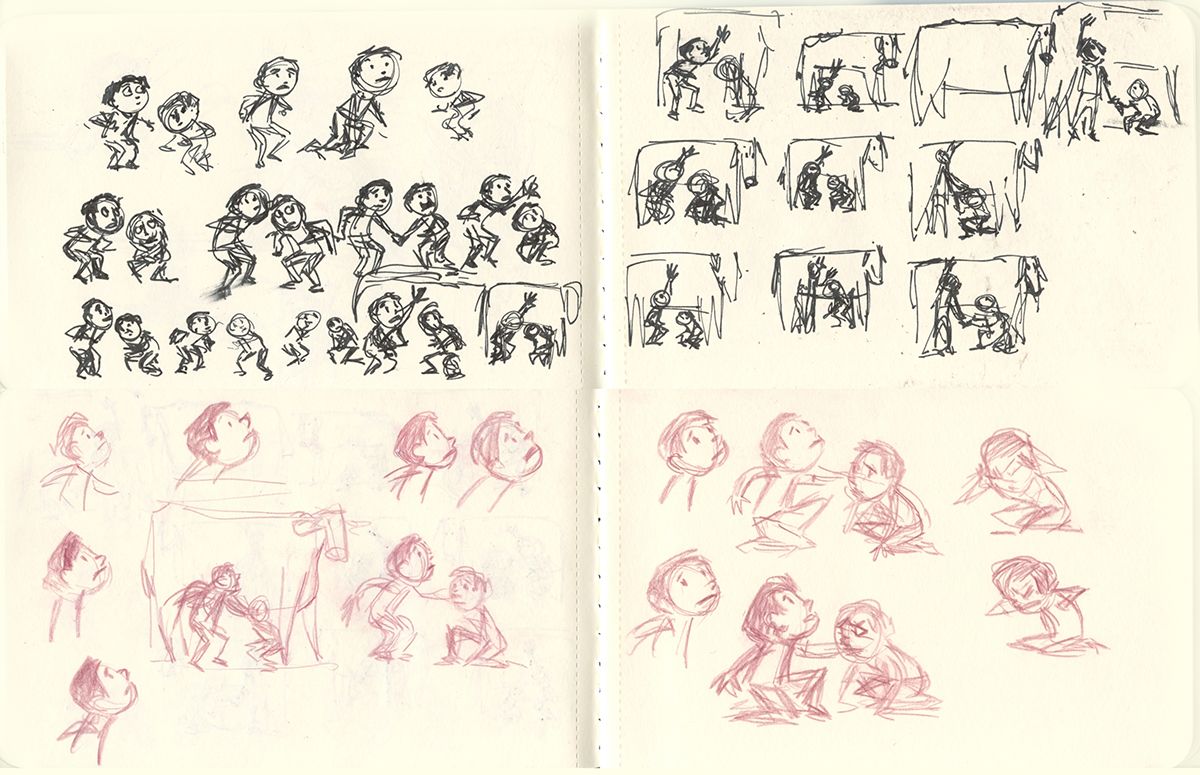
A big challenge was figuring out a pose for the kids. There was even more exploration than this in the digital file.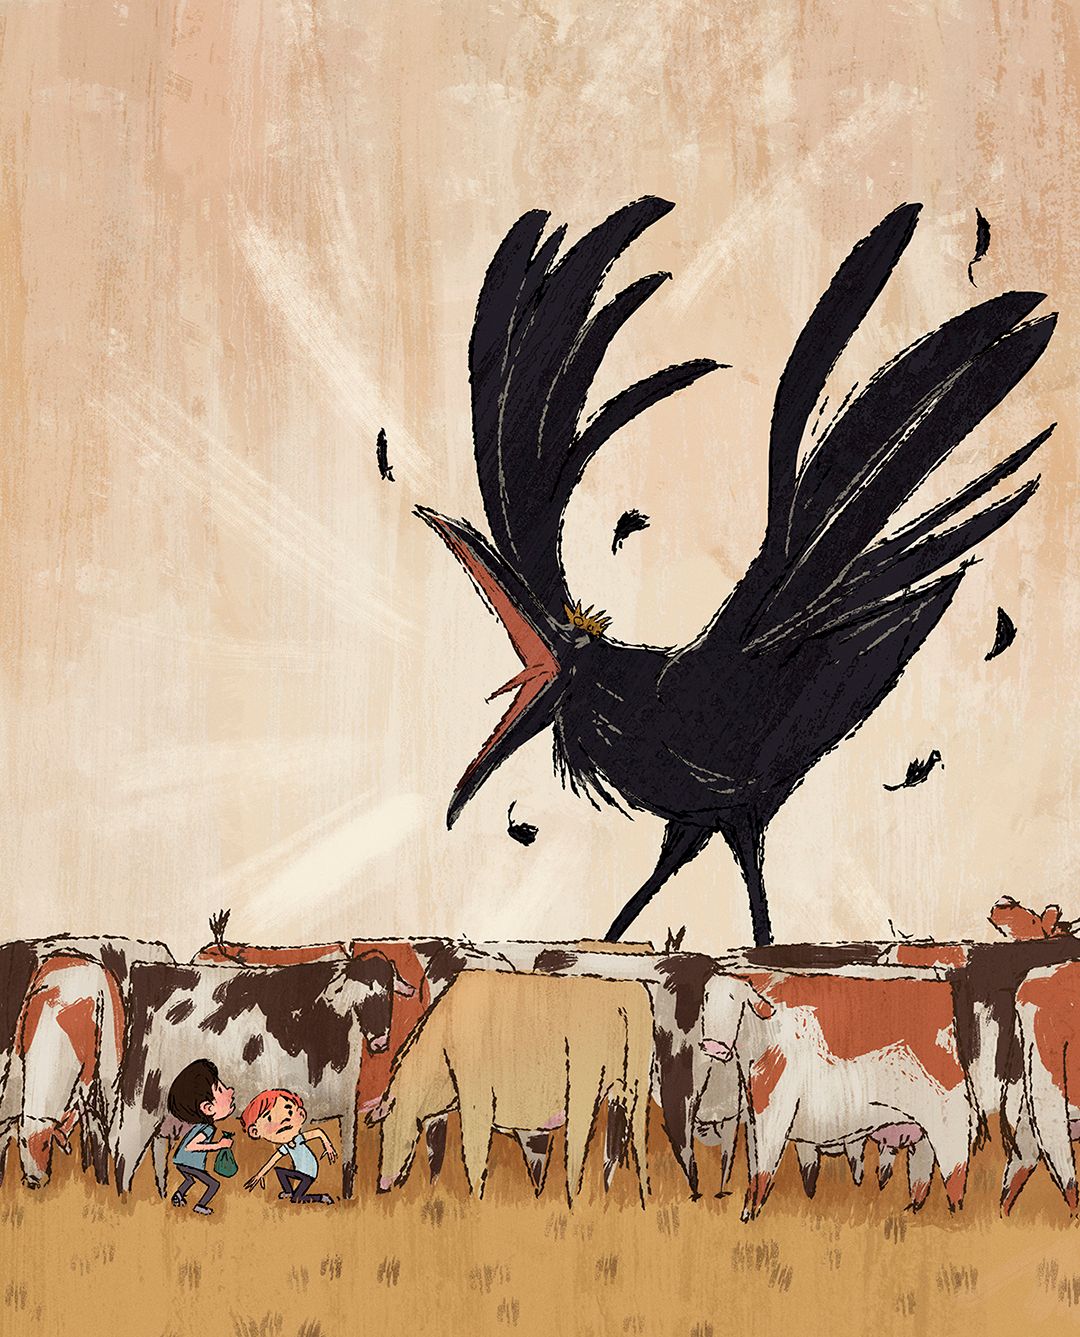
FinalI hope you enjoyed. I love talking about this stuff so ask away if there are any questions.
-
These are wonderful and I have enjoyed looking through them. You definitely have many ideas sketched out.
") A sketchbook full of scribbling like this I would go through over and over again.
A sketchbook full of scribbling like this I would go through over and over again.Instagram: www.instagram.com/heatherboyd.illustration/
Website: https://heatherboydillustration.ca
Shop: https://www.inprnt.com/search/products?q=HeatherBoydIllustration
Ko-Fi: https://ko-fi.com/heatherboydillustrationBe blessed,
-
@Norman-Morana Amazing process and amazing work. Thanks for sharing this.
Laurie DeMott
instagram.com/demotlj -
Fabulous process all-love seeing everyone's work
-
@MichaelaH Love the breakdown of your whole process
@Norman-Morana Loved the end result, and your study of all the pieces involved
-
@demotlj Thank you for the kind words
-
@Heather-Boyd Thank you so much! I'd love to share. Haha, but sometimes they might make me look like a madman

-
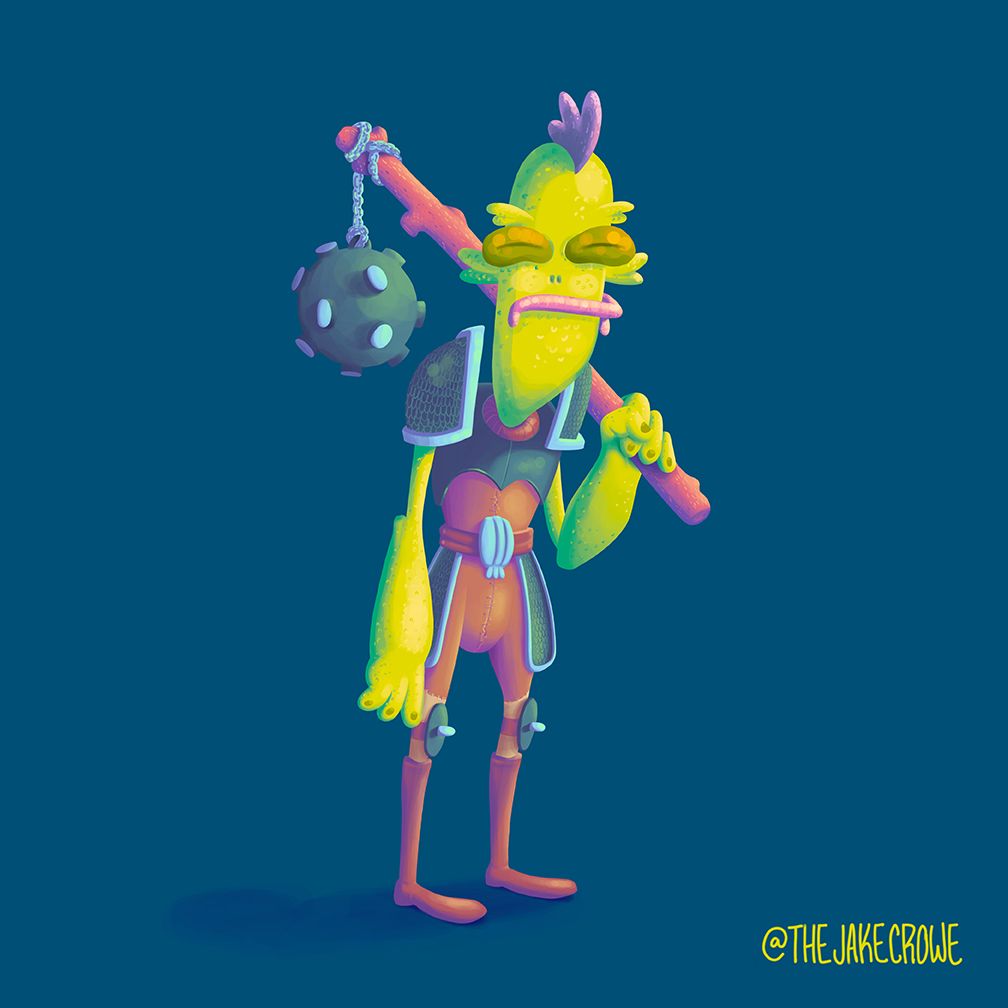
I saw this thread earlier in the week and thought I would document my process for the fun of it. This is usually how I operate except this time I've decided to forgo inking. I think it came out pretty well.
1: Rough sketches, I knew I wanted to draw some sort of fishy person in a medieval society so I got to doodling. I may blow these all out if I have time. I chose to go with the second fella from the left.
2: I then blow up the rough and pencil (all digital; ipad pro; apple pencil; procreate) some details. My next step would usually be to ink but as I said, I'm trying some new things out now that I have a better understanding with color.
3: Flats! I also break everything down into layers, there are 26 in this piece and alpha lock them. This way I can freely color with big strokes on each "object" without having to worry about the rest of the piece.
4: Color! This took the most time but was also the most fun. Color is still pretty new to me, I've spent my entire career avoiding it or using pre-made color palettes with really no idea WHY they worked. Thanks to @Will-Terry i finally jumped into the water.
5: I then brought the piece into Photoshop for some touch ups.
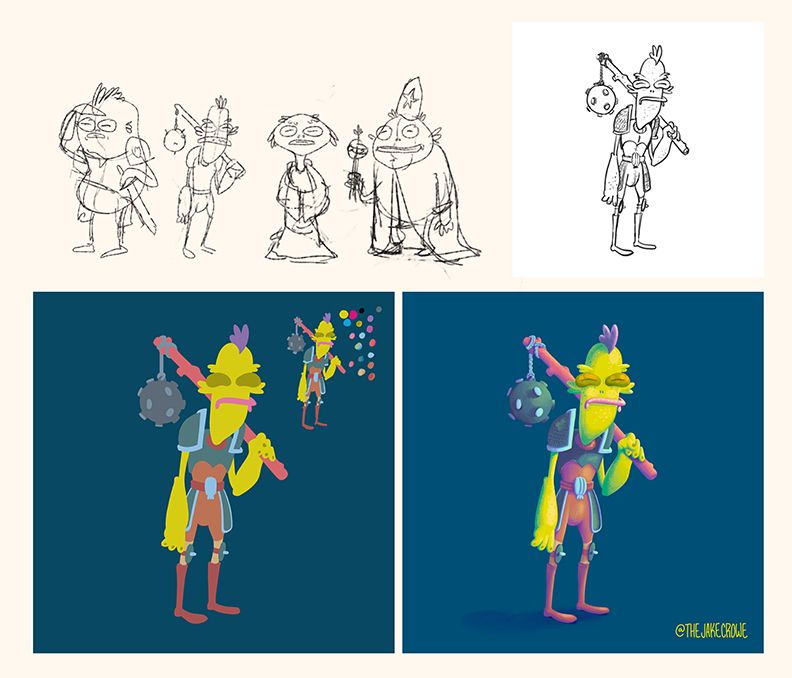
Overall I'm happy with the final piece, it's just something for instagram that I spent too much time on and doesn't really fit into any portfolio but I was glad to get the color practice in and learn some new things.