Enhancing traditional art in Procreate
-
Hi everyone,
I have no idea if this is correct section to post this in...so please let me know, but..I feel most confident in drawing and traditional tools, but when i take pics of my art...they look blah. I have seen many traditional or traditional looking illustrations in picture books, and they look fantastic. I've tried using pencils and traditional tools in procreate (to skip a step), but it always looks horrible.
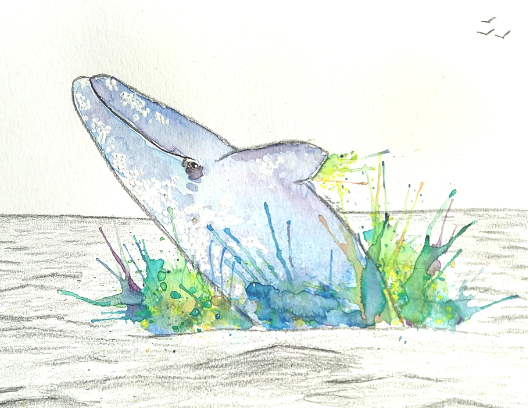
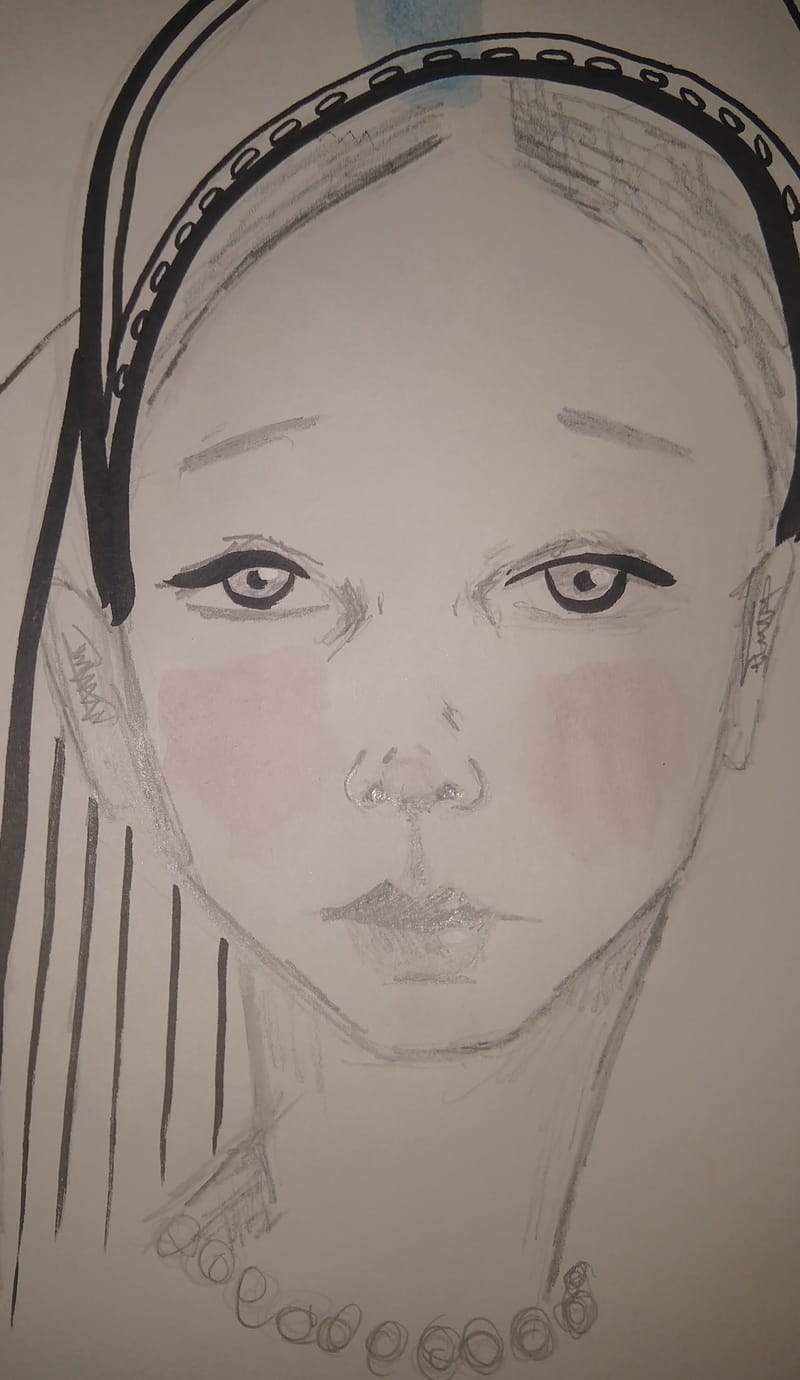
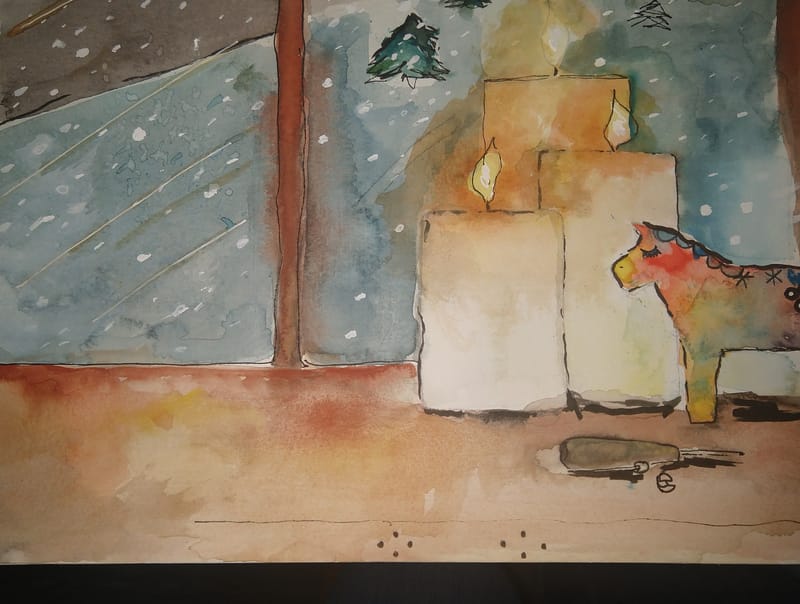
To complicate things a little, I am still exploring what exact style I want to work in. I love using just graphite, and then adding a touch of watercolor or gouache, or ink but I am a little scared that publishers/agents won't like this style. (I will add a sketch to show you). I have tried adding color via procreate, but I can never make it look great. !
Thoughts? Thanks so much.
Thanks.
-
I know a lot is about how you take the photo of your work. Finding a high quality scanner or taking a high quality photo with great lighting is a huge part. Then it’s editing the image in photoshop or something to fix the lighting and color
-
@ksfabian thank you. It's the photoshop and editing that I just don't understand honestly. I'm sure finding a good scanner will be easy enough...but the editing. I had adobe illustrator for a while, but honestly i COULD NOT get it, it was just so overwhelming for me and using the mouse I couldn't get...I gave up. Thank you for the advice, any will help.
-
@Katt 1. Use a good scanner
2. Download Astropad app on your computer and iPad so you can use your iPad like a drawing tablet to edit more precisely in Photoshop
3. Some very subtle shadow gets lost in the colour correction process. Its ok. Be prepared to add them back digitally using a textured brush.
4. Start practicing with artworks that have white background to get a hang on the process. Then move on to full paintingsI'll upload an example of what I recently did to illustrate my point when I get the chance
-
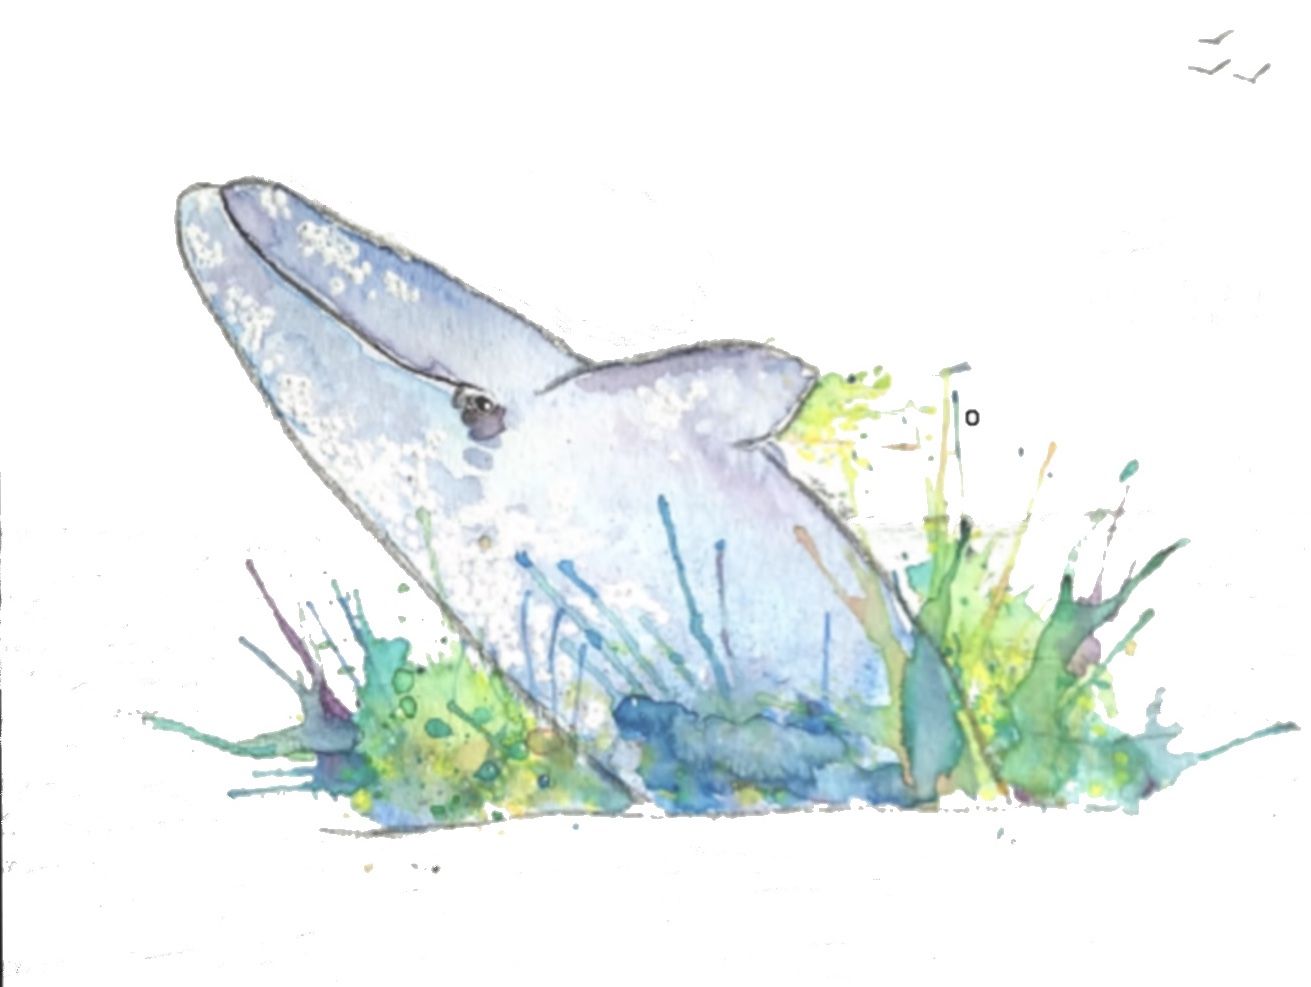
@Katt I am not a Photoshop expert, but I'll try my best to share what works for me with Procreate since you may be more comfortable with it. I tried to do a quick edit for your grey whale art to help you visualise what I mean.
-
My first step is to scan the painting at 400-600dpi. The reason is that sometimes we have to edit at pixel level and it is going to look quite rough especially on the edges. Working on a higher dpi helps to make the end result look more natural
-
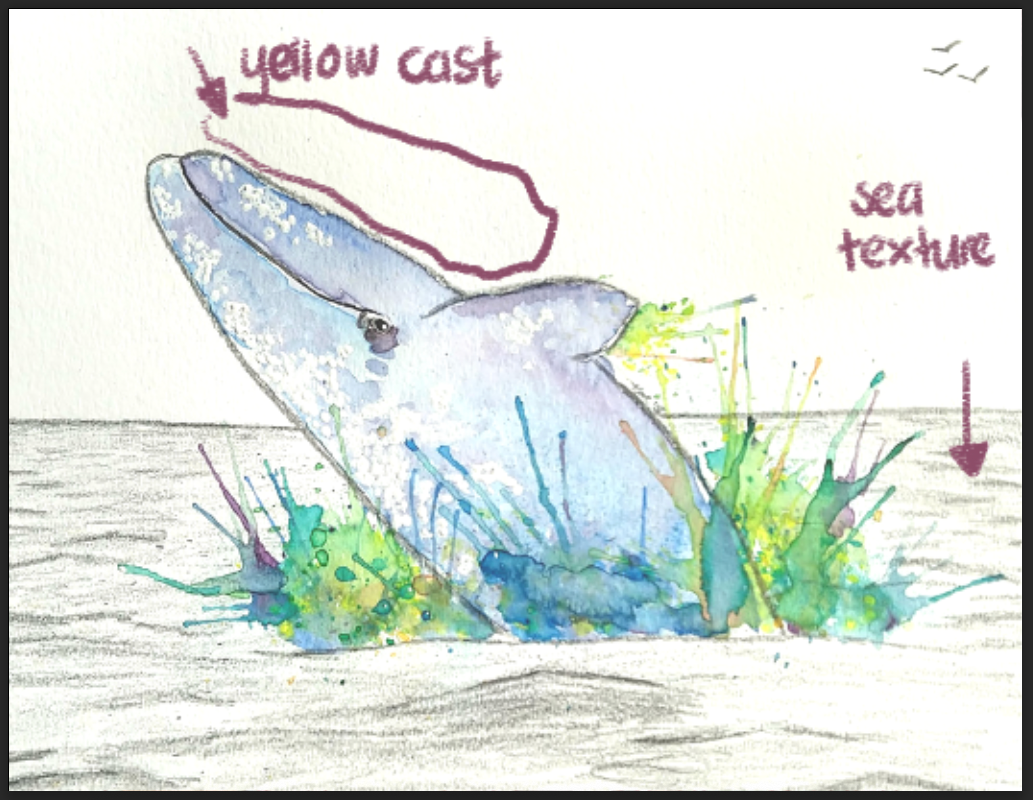
Second step is look at your raw scan and identify what you don't like about it and what you like and wish to keep. In the grey whale case, I don't like: the yellowish cast from the scan, the colour of the sea that doesn't help the whale stand out. I like: the splashed paint colours and texture
-
list item Open in Procreate. Duplicate it. Hide the original and work on the duplicate so in case your edits don't turn out good, you still have the original to start over
-
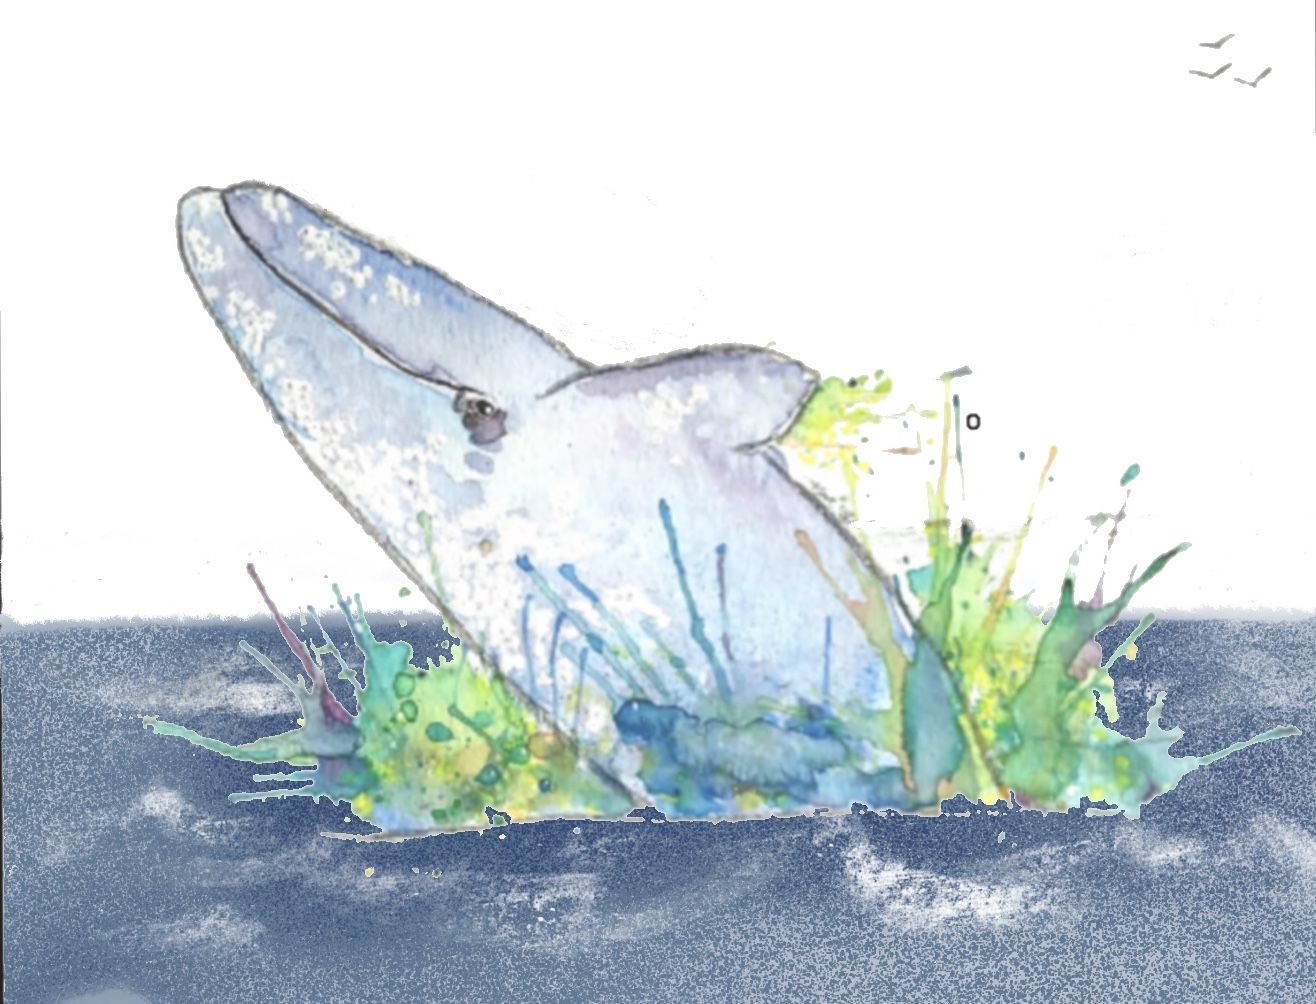
list item Auto-select the white background, slide until you get a good coverage that removes most of the paper white without touching any of the whale or splatter. Don't worry if there are bits of white left, you can always use a small eraser to remove these bits. Zoom in a lot to erase around the fine splatter marks. I erased the water texture too because they don't seem to scan well and there is no way for me to fix it quickly. I will put back the water digitally later.
-
list item Add a new layer underneath. I do a rectangular selection and paint within the selection with a flat brush, followed by a "Bonobo" chalk brush to add the texture. Finally, add some of the white wave crests with "Artist Crayon" brush. Both are available in Procreate Default.
-
list item It may be worth trying to paint the background separately and then layer them together digitally if you want both background and character to keep the 100% traditional feel.
I hope you'll give it a try and let me know if it works for you!
-
-
I remember the frustration I felt when I was first learning Procreate. I wanted to capture the watercolor and coloured pencils look that I had with traditional medium and had no idea how to do it. I searched Youtube for Procreate watercolor tutorials and followed along. After doing dozens of these tutorials I started to notice themes with techniques and brushes. If you haven't already done this, you may find it helps.
Nowadays, I do all my drawing (and some color blocking) in Procreate and then take it into Rebelle for the watercoloring. It's an amazing program (with another big learning curve) if you ever want to check it out. I then finish it in Photoshop or Procreate for final details.